
IKEA PAX assembly is one of the most common jobs we do in London, Ontario, and one of the most common to go wrong. PAX wardrobes are tall and heavy, and they’re made of several parts: frames, doors, hinges, drawers, rails and interior fittings. These seven tips will help your IKEA PAX assembly go smoothly, whether you build it yourself or book help.
1. Measure your ceiling before you start
This is the number one surprise. If you build a PAX frame lying on the floor and then tilt it up, it needs more room than its own height. According to IKEA’s ceiling height guide:
- 201 cm frames need about 210 cm of ceiling height to be built on the floor and raised.
- 236 cm frames need about 240 cm (35 cm deep) or 244 cm (58 cm deep).
If your ceiling is lower, the frame can be built upright against the wall instead, which needs less clearance but is a two-person job.
2. Check the wall and the floor
PAX frames must stand level and be fixed to the wall. Look for baseboards, uneven floors and the location of wall studs before you commit to a spot. Baseboards may need a small gap behind the frame, and an uneven floor means the frames need adjusting so the doors line up.
3. Open one box at a time
A full PAX system can arrive in a dozen or more boxes. Open and build one frame at a time, keep each set of hardware in its own container, and don’t throw anything away until the job is done. Mixed-up hinge screws and cam locks are a common reason IKEA PAX assembly takes twice as long as planned.
4. Build the frames before the doors and interiors
Assemble every frame, stand it up, connect neighbouring frames and anchor them to the wall first. Then add doors, and finish with drawers, shelves, rails and organizers. Hanging doors on frames that aren’t square and secured makes adjustment much harder.
5. Always anchor the wardrobe
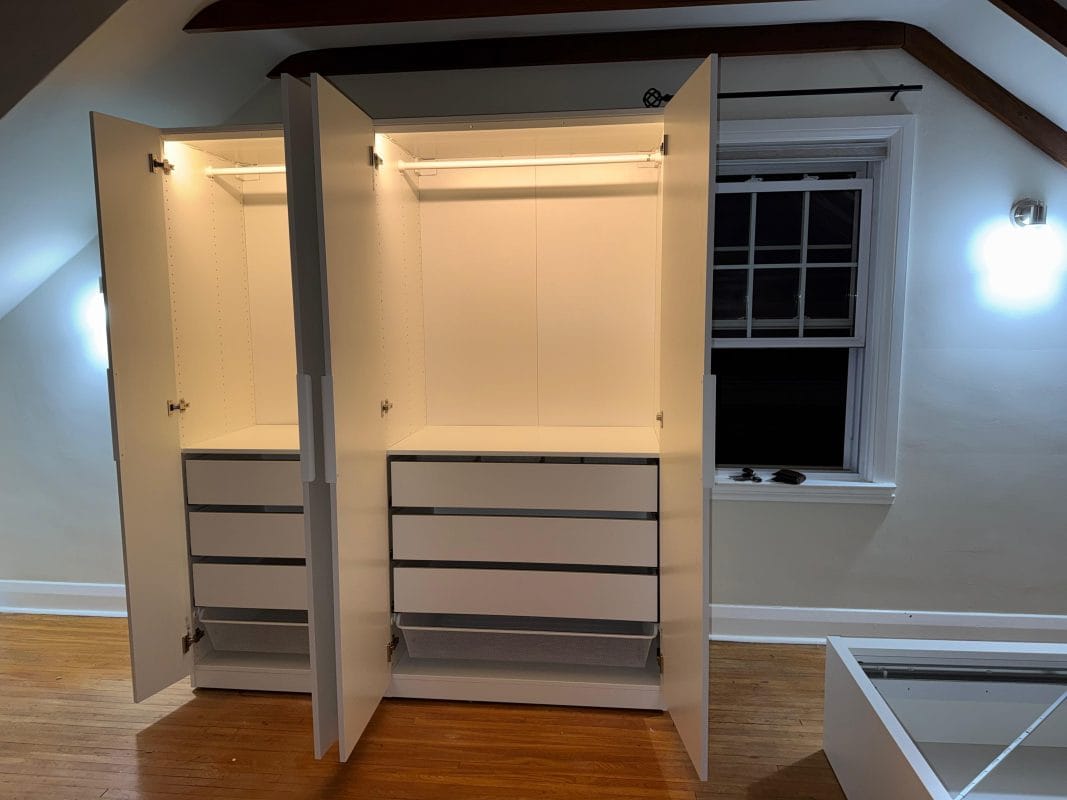
IKEA includes a wall-fixing kit with PAX, but the right screws and plugs depend on your wall (drywall, plaster or concrete). A tall wardrobe that isn’t anchored can tip, especially with doors open and drawers pulled out. Health Canada recommends anchoring tall furniture using wall studs or heavy-duty anchors.
6. Adjust the doors last
PAX hinges adjust in three directions: side to side, up and down, and in and out. Once everything is in place, close each door and adjust the hinges until the gaps are even. Sliding doors have their own adjusters and dampers, so read that section of the manual carefully.
7. Give yourself more time than you think
A single PAX frame with a few fittings is a manageable project. A wall of three or four frames with doors, drawers and a shoe rack is a full day for most people. If you’re working to a move-in date, plan for it or book help early.
Bonus: plan your interior before you buy
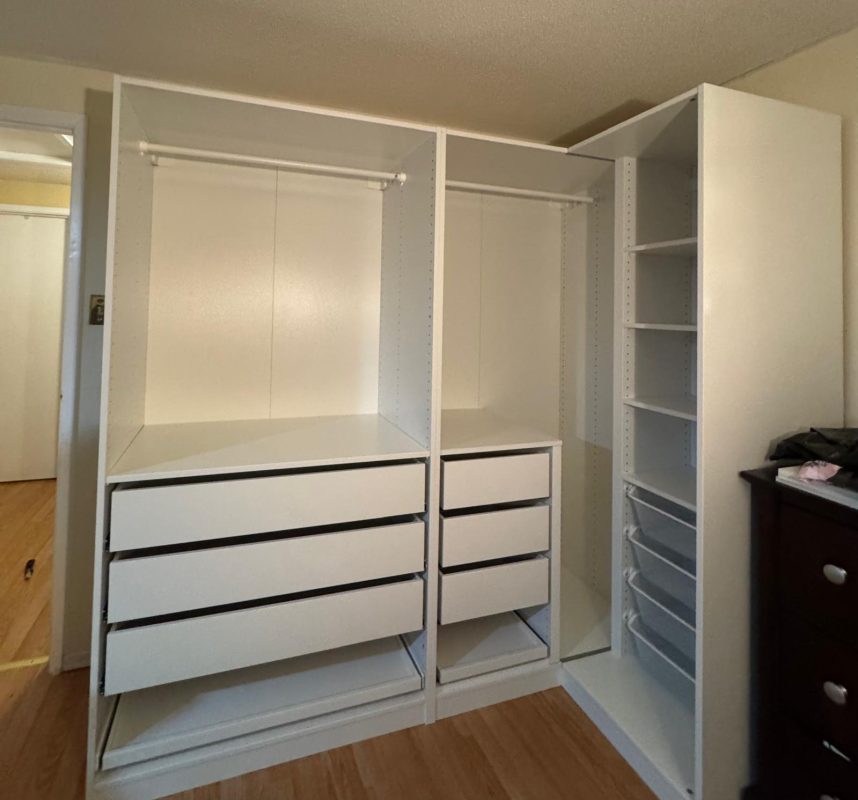
Use the IKEA PAX planner to design the inside of each frame before you order. Decide where you want long hanging space, double rails, drawers and shelves, and how many of each you need. Planning first means fewer return trips and a faster IKEA PAX assembly day, because every fitting you need is already in the room.
Want help with your IKEA PAX assembly?
Triple Home Service assembles PAX wardrobes, KOMPLEMENT interiors and full closet systems across London, St. Thomas, Woodstock, Strathroy and nearby areas. We build, level, anchor and adjust every door. Learn more about our IKEA furniture assembly and closet and wardrobe assembly services.
Need a hand?
Triple Home Service helps homeowners across London, Ontario with furniture assembly, TV mounting, moving and junk removal, 7 days a week.
You Might Also Like
Furniture Pickup in London, Ontario: Costs and Tips for Marketplace and IKEA Orders
Moving an IKEA KURA Bed? How to Take It Apart, Move It and Rebuild It
How High to Mount a TV: An Easy Guide (Plus 1 Safety Tip Most People Miss)
DIY or Hire a Furniture Assembler? 6 Easy Questions to Help You Decide